Create a Virtual Machine (VM)
16 min
Login to https://cloud.in8.com/app/dashboard
Create Instance
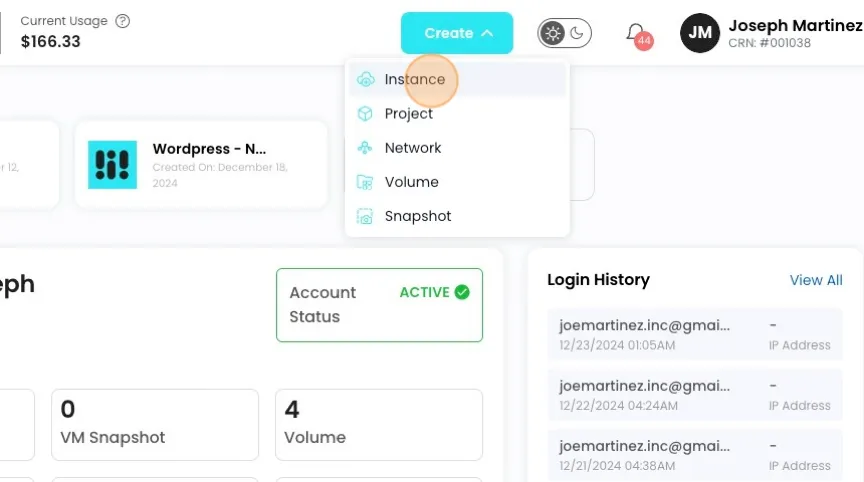
In the upper right corner of your Dashboard, select "Create" followed by "Instance."
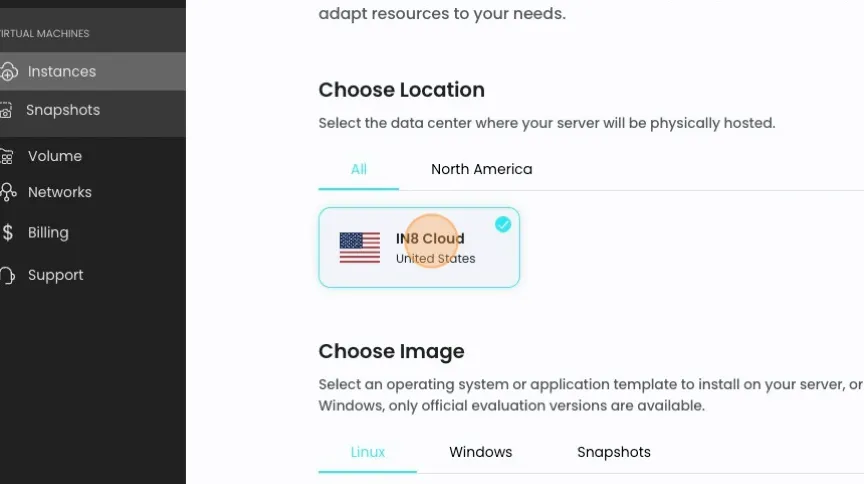
Select a Location.
By default iN8 Cloud is always selected.
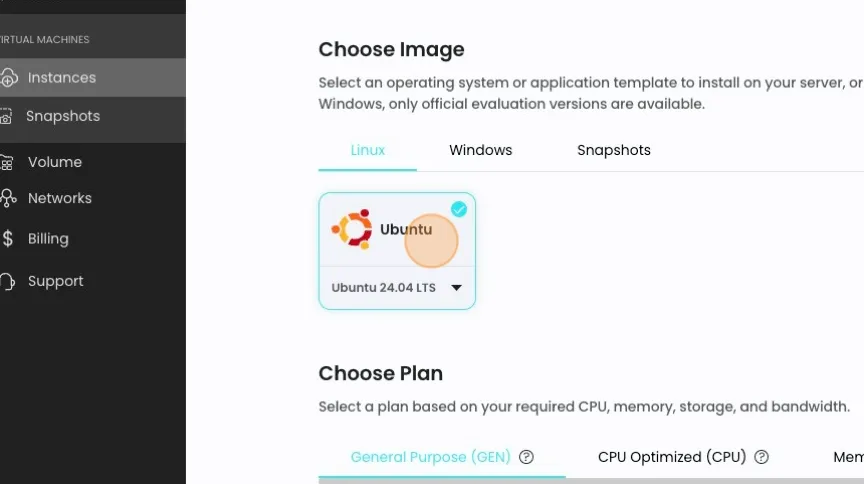
Select an Image:
- You can choose between various Operating Systems and Pre-Defined Images or you can launch an instance from a Snapshot.
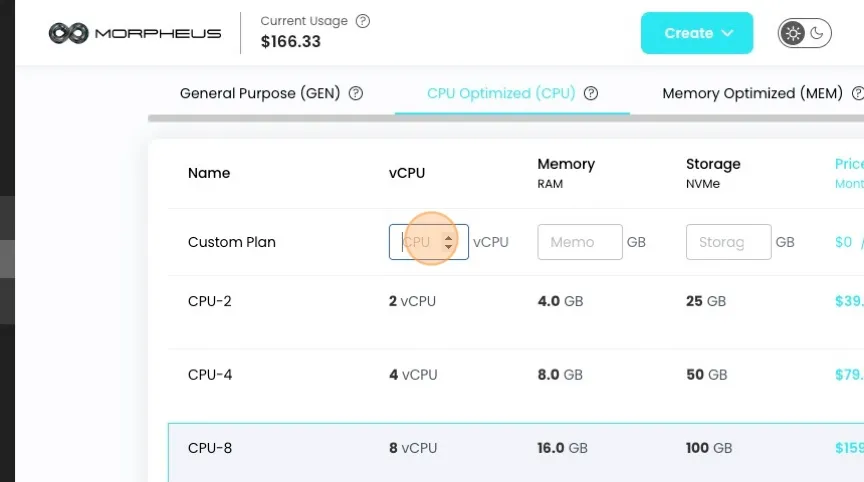
Choose a Plan.
- You can choose from Pre-Defined VM flavors or customize to the flavor you need!
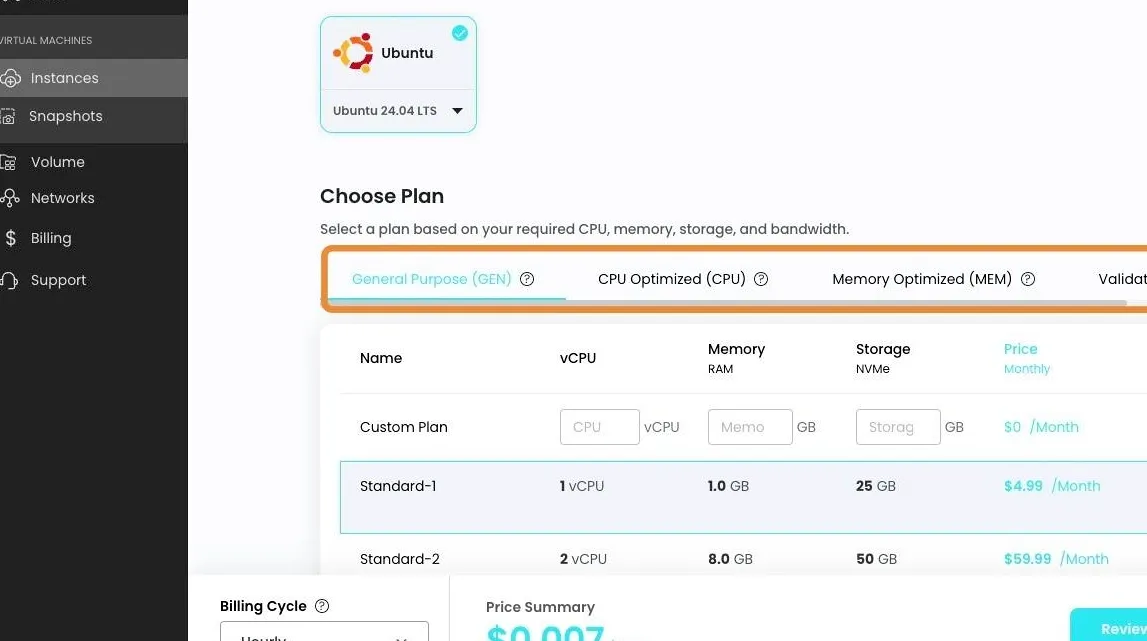
Create a Custom Flavor here:
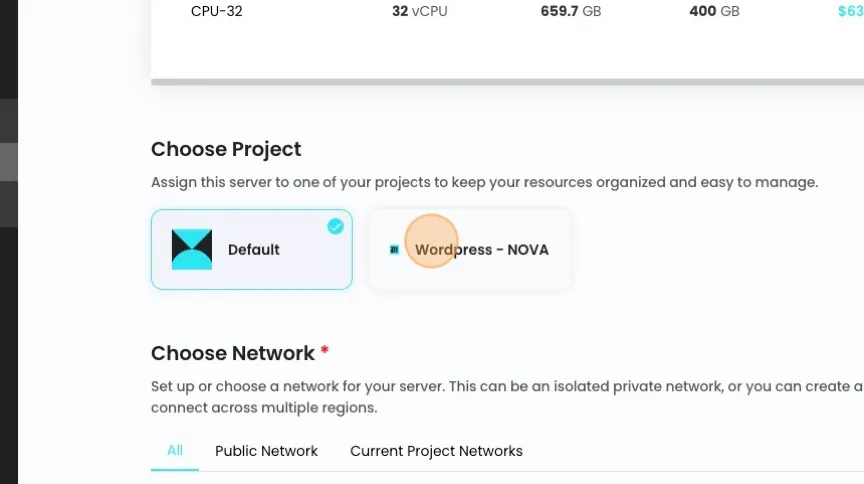
Choose a Project:
- here you can create a level of organization to your VM projects.
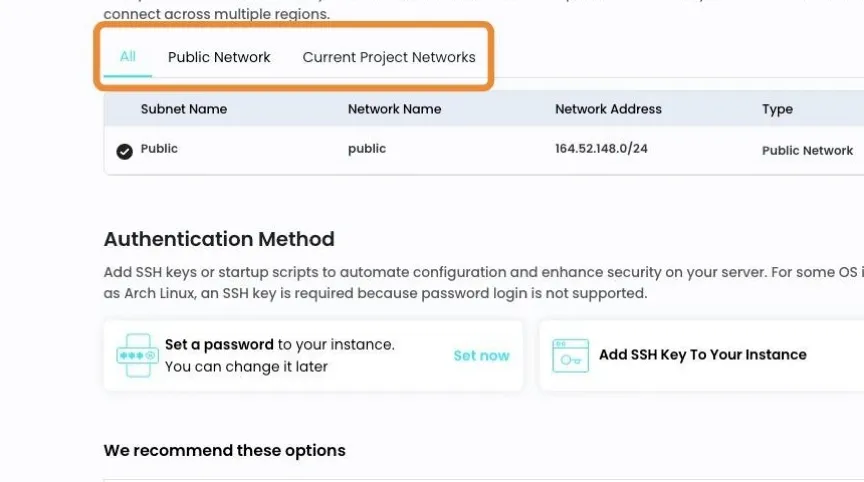
Choose a Network.
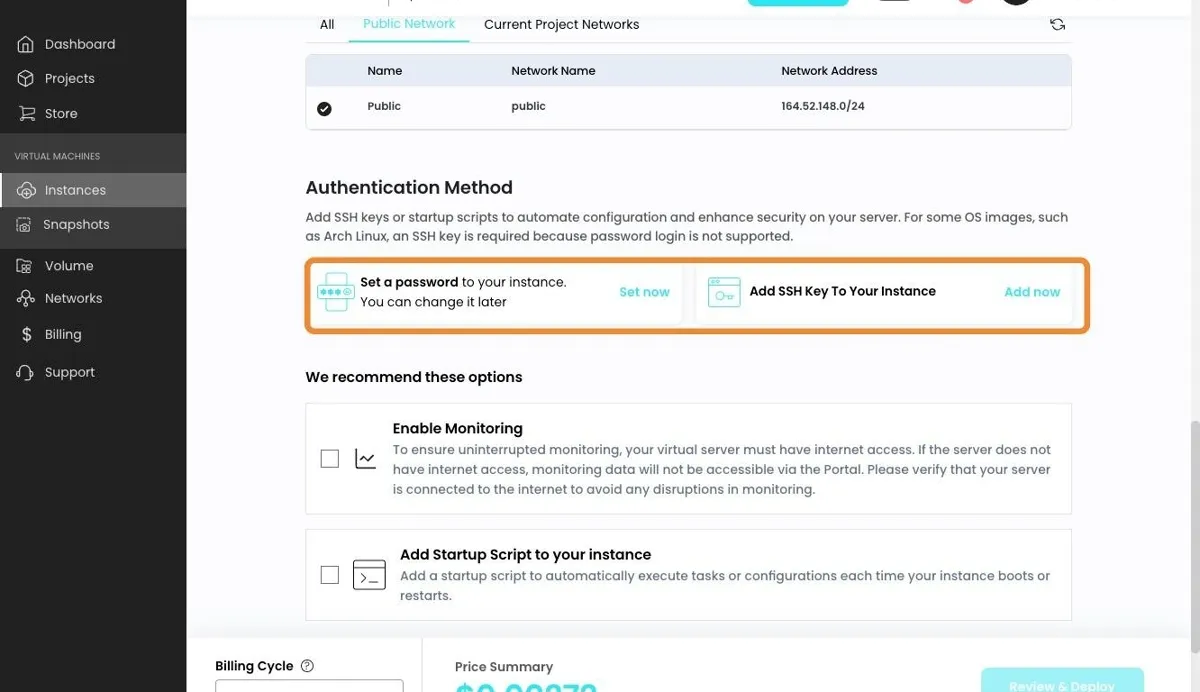
Authentication Method:
- Create a login to your VM. You can create a Username and Password or Add and SSH Key.
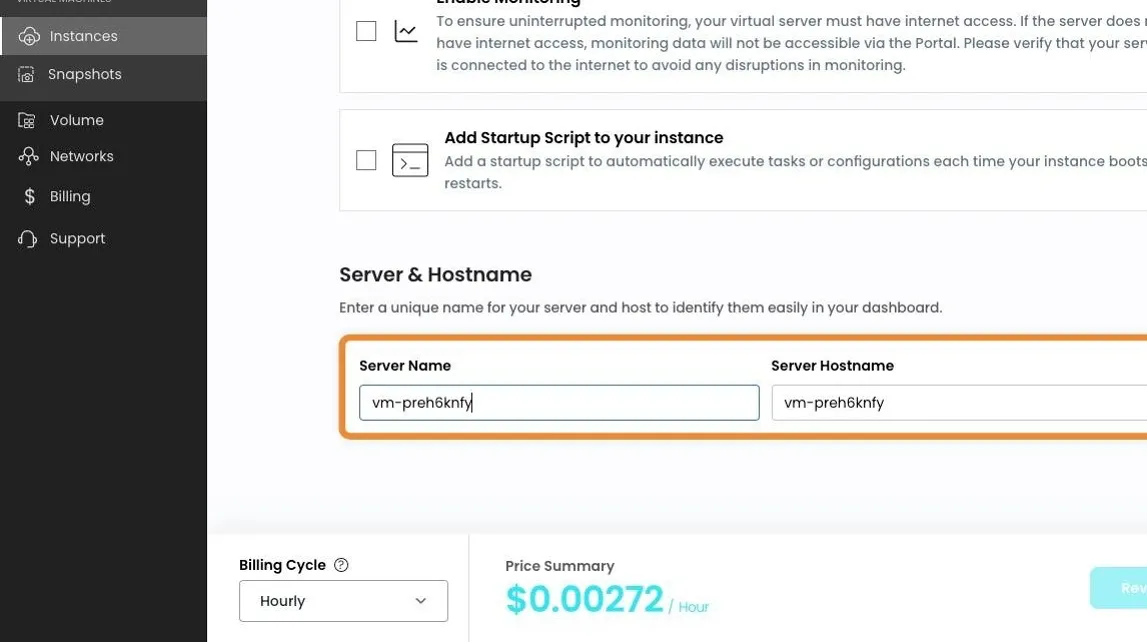
Name your VM
Give your VM and Unique Server Name and Host Name.
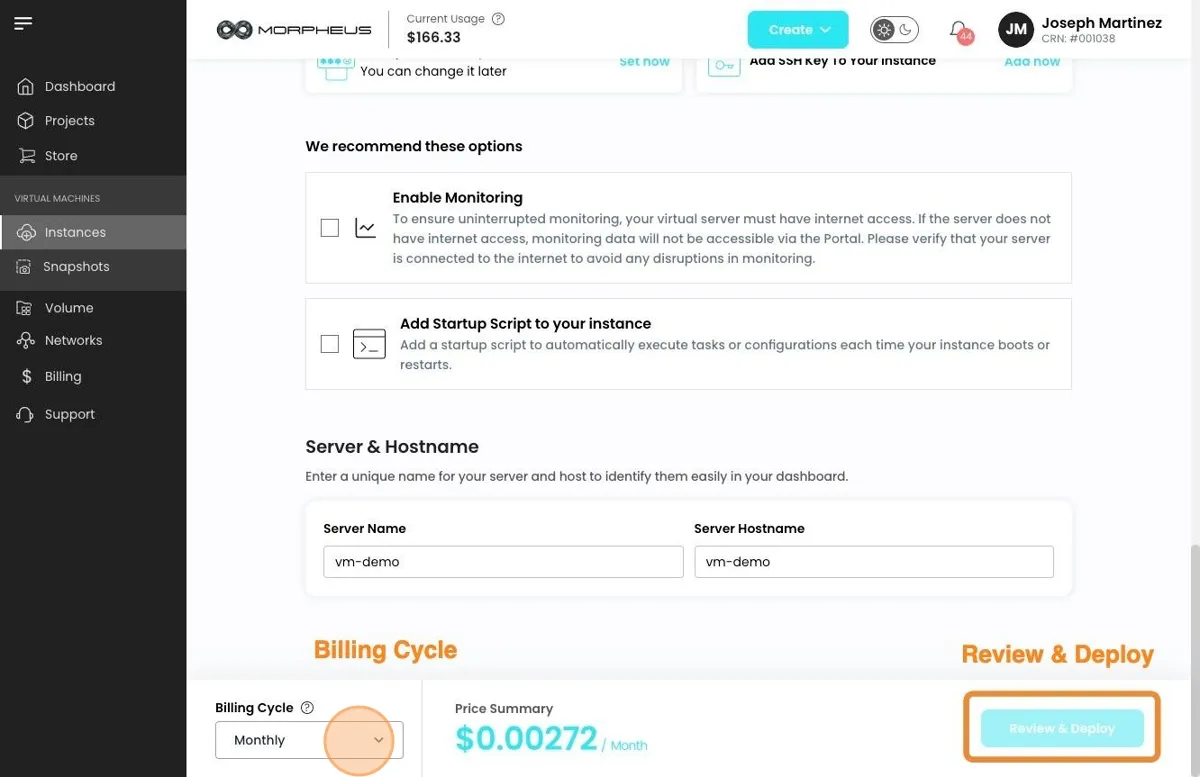
Billing
- Select your "Billing Cycle". and Review and Deploy
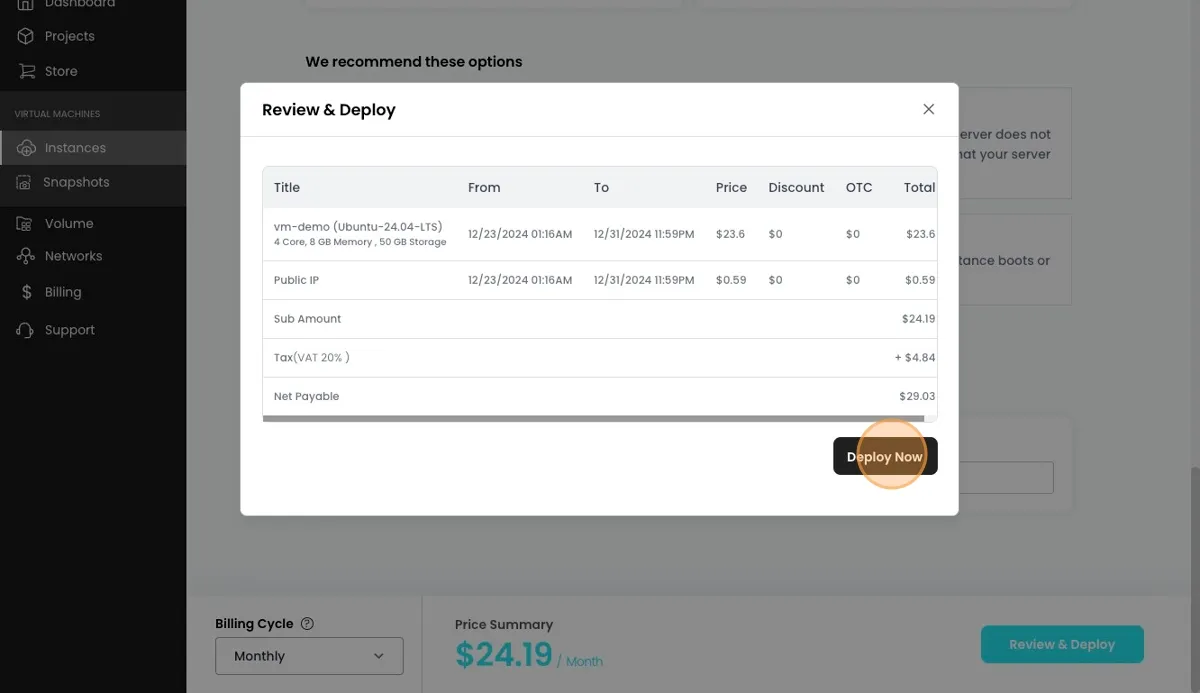
Deploy Now
- Review the billing of your VM Instance and then Click "Deploy Now"
Status
- Your VM instance will start the creation process, please note it will take a few minutes for your VM to spin up. Watch the status as show below.
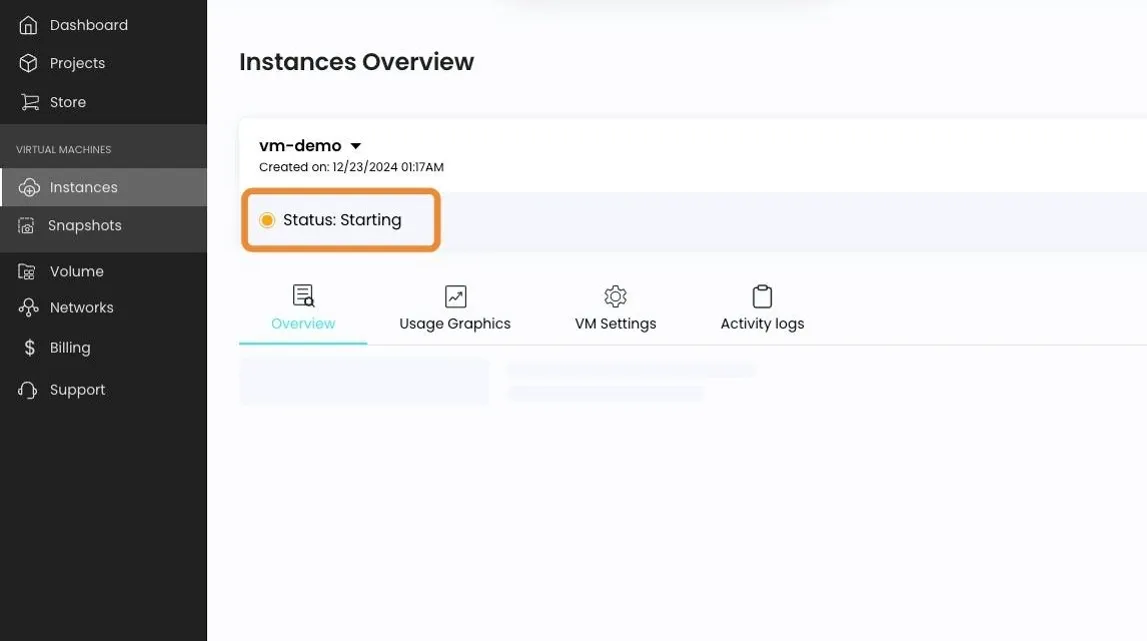
- When the status changes to "Running" with a green dot, your VM is successfully running
-
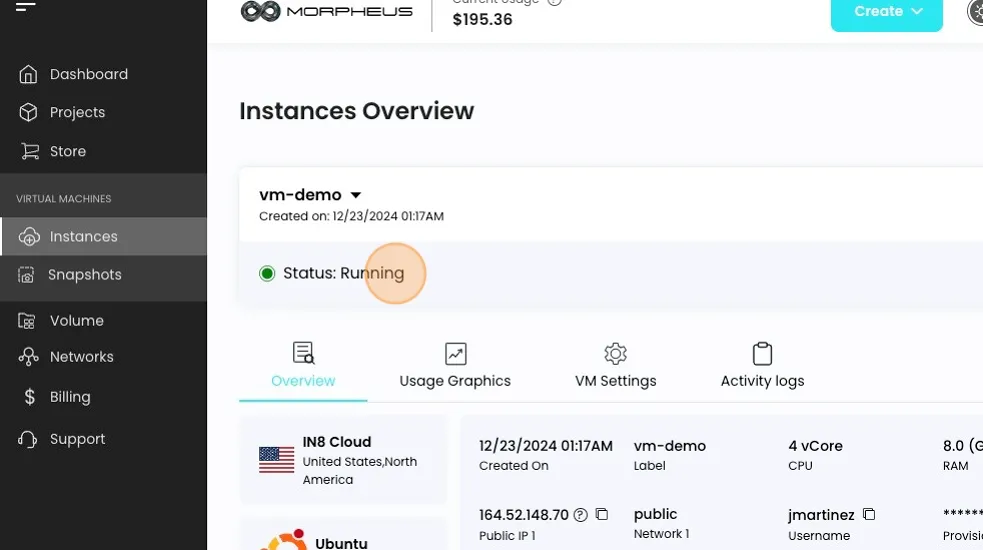
- Click on the name of your instance to see more details.
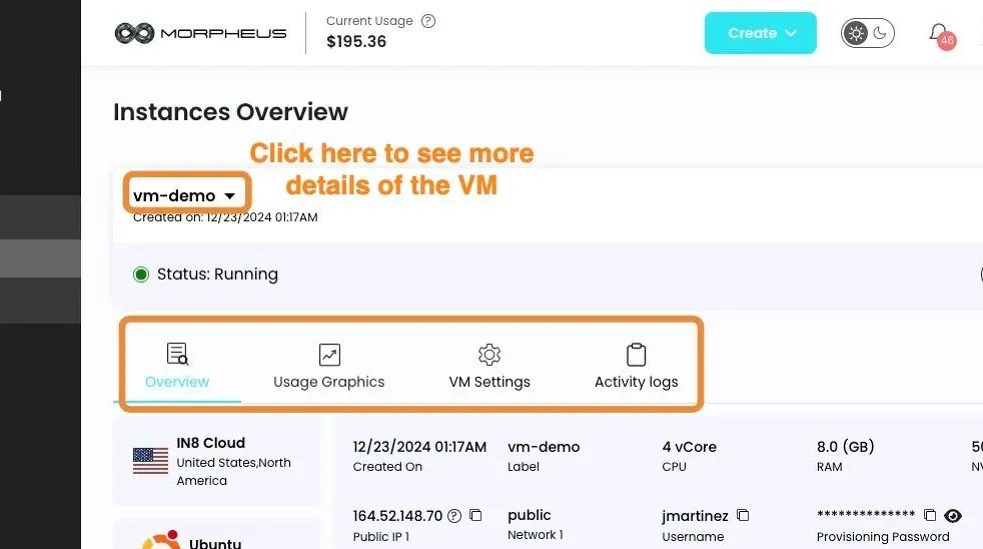
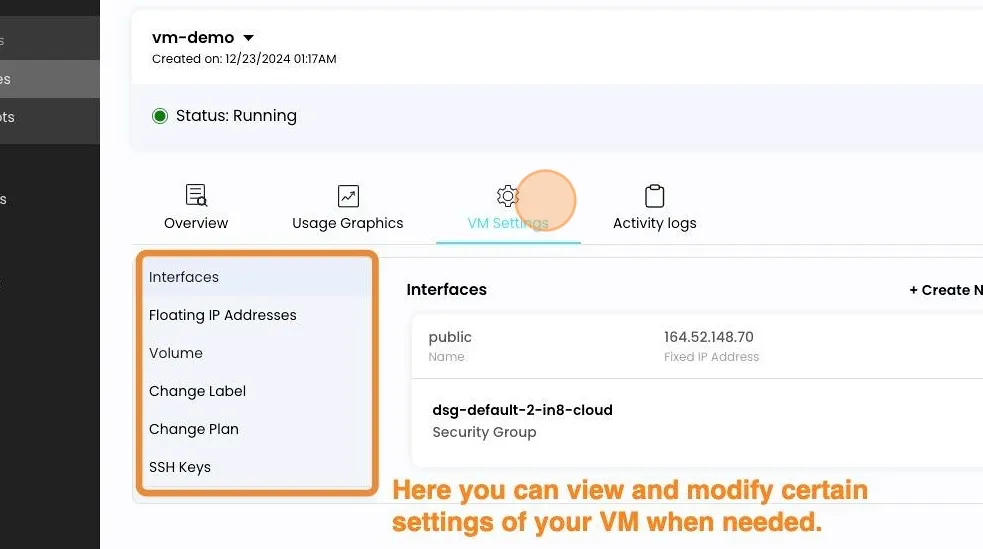
VM Settings and Options
- Click "VM Settings" to see various settings you can use to modify your VM.
-
Success:
- You have successfully launched your VM Instance.